Those who do not want to imitate anything, produce nothing. ~Dalí Dalí by Dalí 1970
Starting, but not really
Long, long ago, when I was just a gangly teenager who lived by the rolls of the dice, I was a war monger among the local war tables! I brought fear to those who battled me for my abilities to command an unwavering army. All those who dared to unthrone me only found defeat.
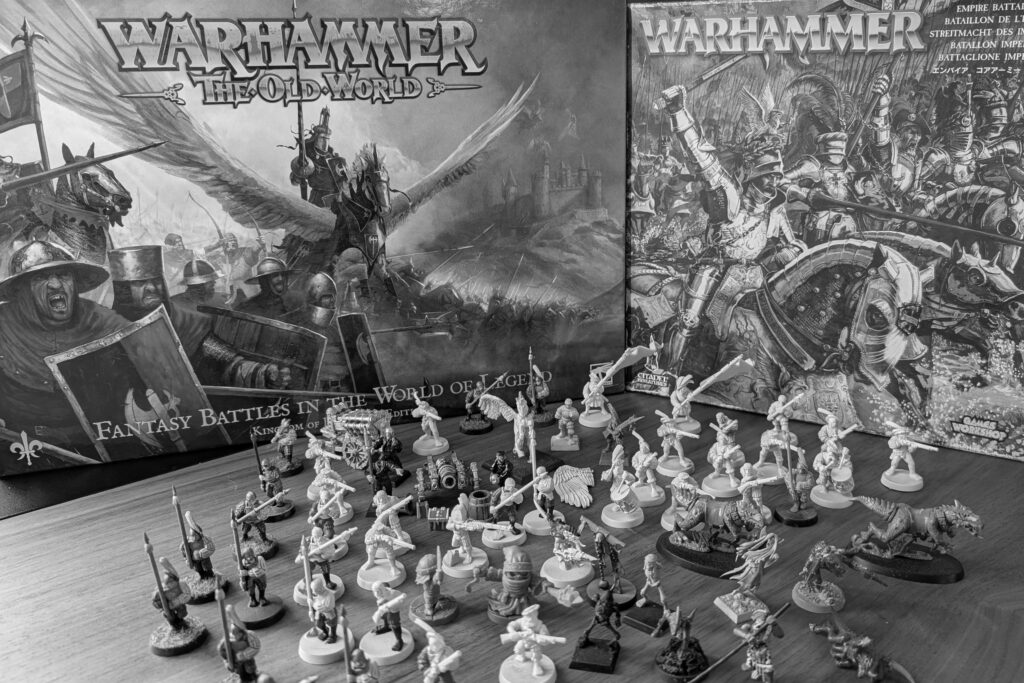
Or, that’s what I would have been if I had ever actually put together the army that I had bought. Originally, I desired the Bretonnian Army, but I accidentally purchased the Empire starter set. What can I say except that I didn’t know what I was doing back then, and as a shy kid, I didn’t ask to make sure I was buying the right thing.
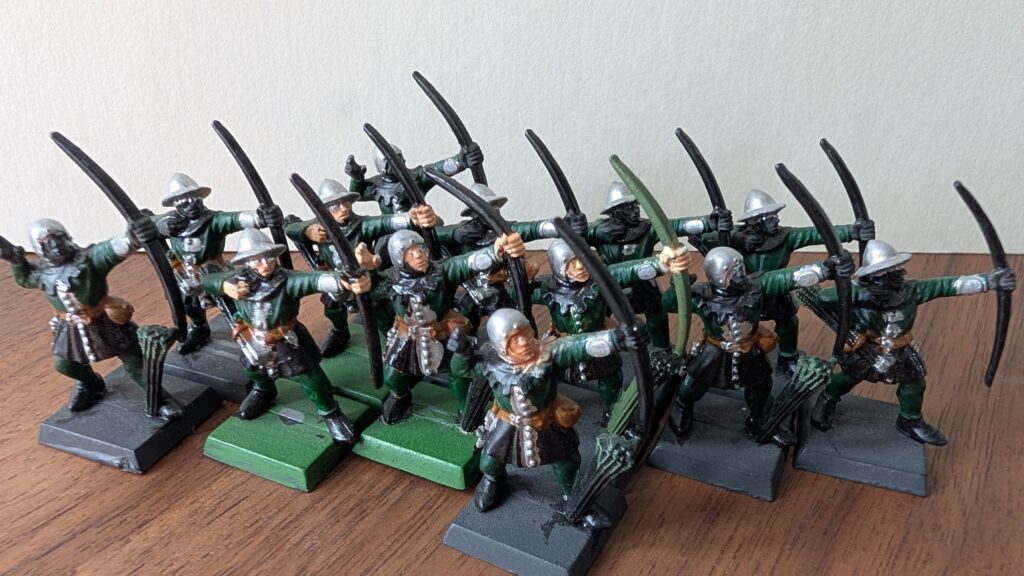
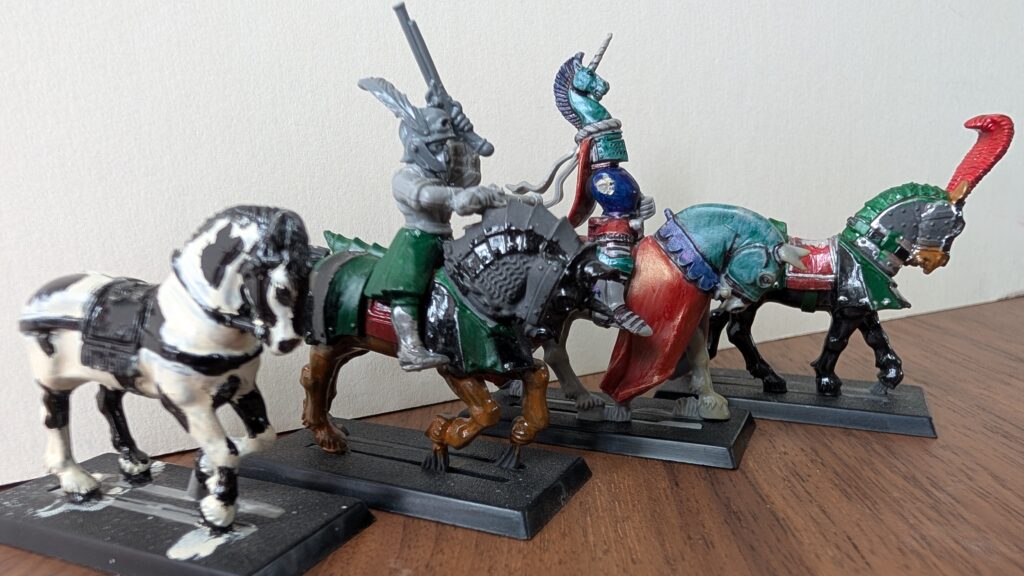
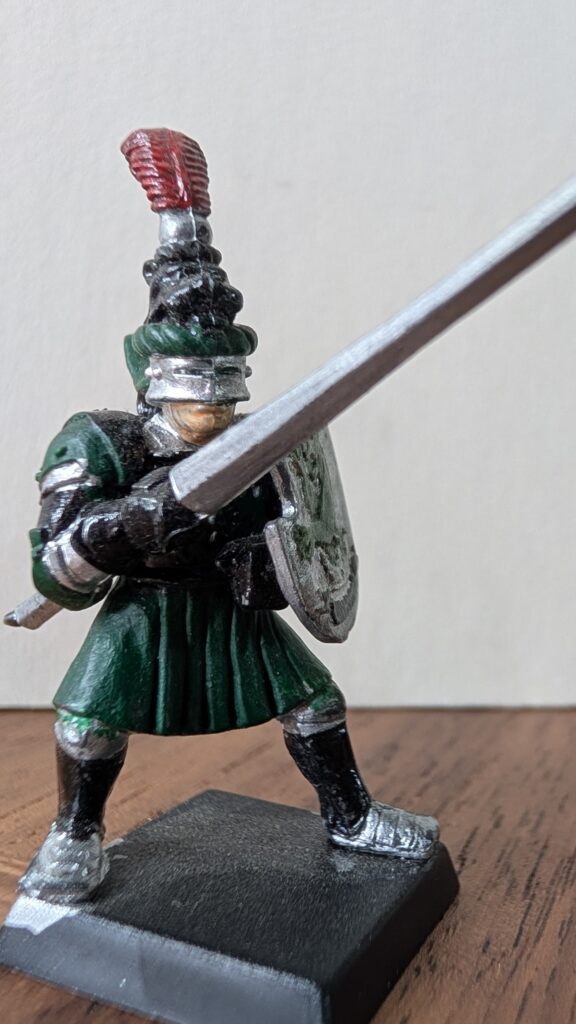
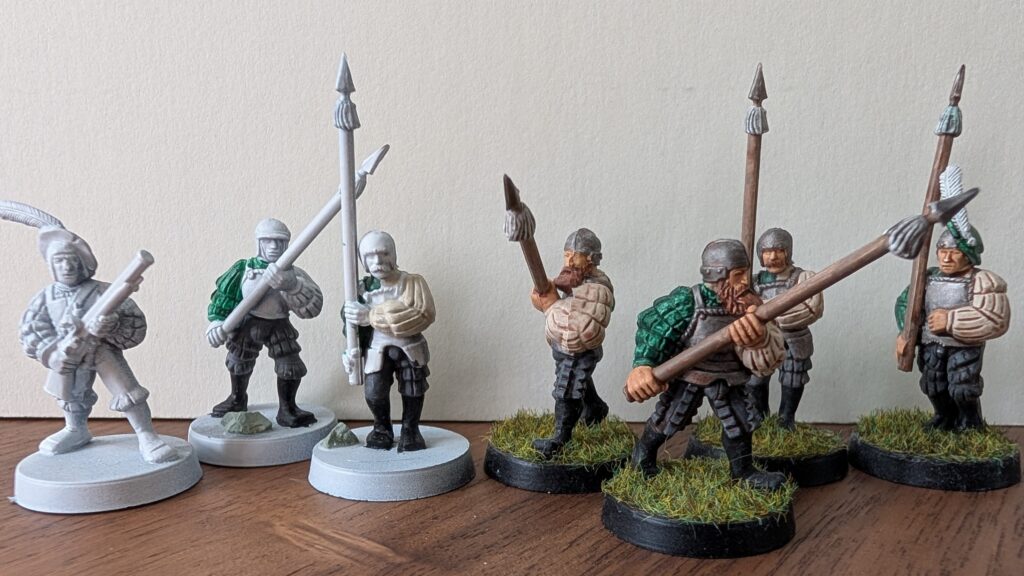
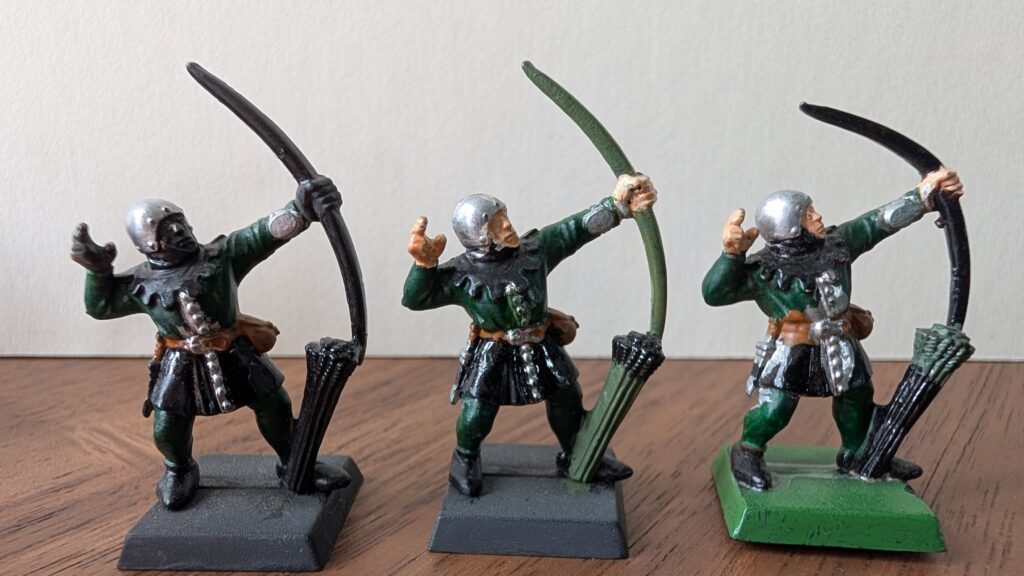
I gave it my best to paint the miniatures that I had, but as seen below, I wasn’t great.
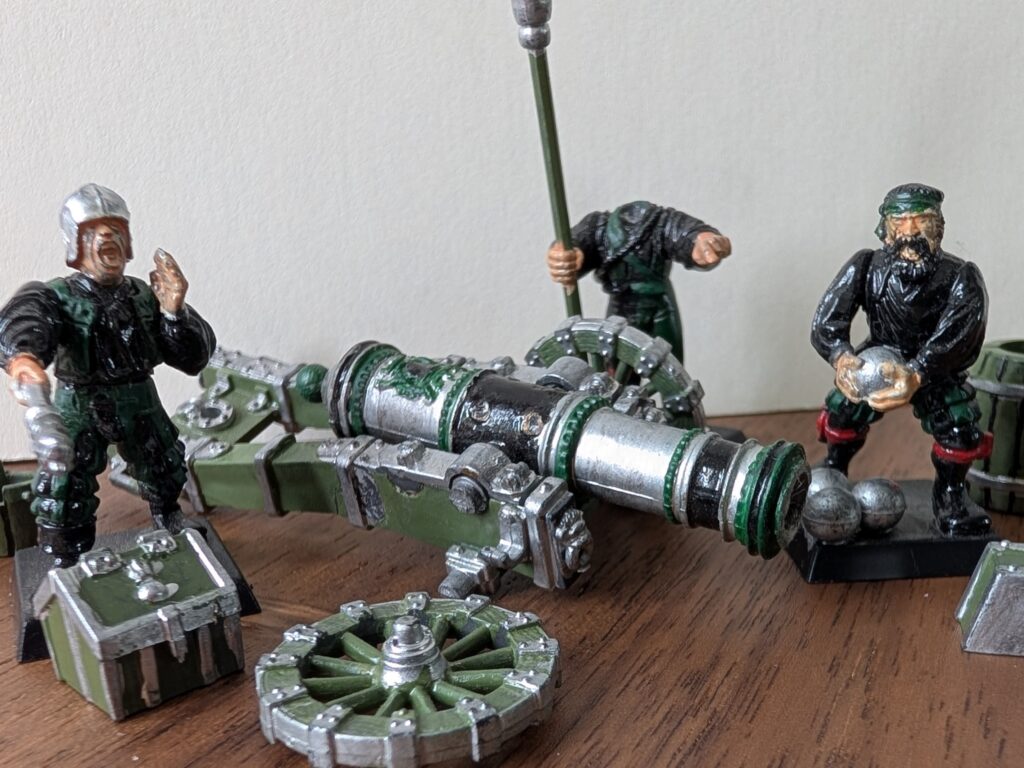
I was on the verge of giving up on this hobby, but then a best friend of mine gifted me the rerelease of the Bretonnian army. With my interest reignited, I knew it was time to take one more stab at this. However, I didn’t know where to start or how to paint these miniatures.
The same friend is incredibly good at painting and has a channel where he shares some tips and tricks. So, after watching all those, I started down the YouTube rabbit hole of watching any miniature paint artists that struck my fancy. Eventually, I found several artists who all demonstrated roughly the steps that I’m going to use. Will they work? Only time will tell.
Assembly
I’ve got a lot to put together. Not as much as others, but enough for me. At my friend’s suggestion, I’ll be using Zap-A-Gap glue. I’ve also bought into the Army Painter system of products.
My goal is to practice on the pieces that are not Empire or Bretonnian, but the odds and ends that I’ve acquired. Once I have assembled everything and practiced a few painting techniques, the whole army will follow.
Subbase coat
I purchased a mid-grade airbrush, as this is as much about finishing this ambition as it is enjoying it. I don’t want to get bogged down in the details to the point where I don’t find this fun anymore (foreshadowing?). The base coat will be Army Painter Air, flat black.
Zenithal
While some may consider this a base coat or part of the base coat, I consider it to be the shading for my minis. That’s because I’m using Army Painter Speed Paints. The zenithal coating will serve as my shading for the solid colors I paint with.
The number of videos I watched about this type of painting is ridiculous! I’ll provide a list of all the YouTube channels that I watched, which brought me to this plan.
Once the black base layer has finished drying, I will spray a layer of grey paint from a 45-degree to 90-degree angle. This grey layer will be an additional shading step to capture the mid-tones to give the shadows more value.
Next, I will spray a white layer from a 90-degree angle to capture the highlights of the mini.
At this step, I’m hoping that this looks like a black and white picture or a cool grey scale image. If, however, it doesn’t, then I’ll switch to dry brushing the white for this step. Only testing will tell if this is worth it for what I want to do.
Slapchop
The next step is to add color—lots of color since this is a Bretonnian army. My goal is to make this army stand out on the battlefield with vibrant colors. I hope that each of the knights will have a subset of followers that have matching colors.
I have Army Painter Speed Paints, which I’m using since I’ve never been very good at shading with colors. That’s why I’m using speed paints to do the work for me. The plan here is to do a light glaze with colors over the zenithal painting.
Double Slapchop
I’m on the fence about this step, but if it looks like what I want during testing, I’ll push forward with it. The plan is to give the whole model a white dry brushing once the slapchop step is complete. Then, repaint the minis with additional colors or new colors over old ones to add depth. I may have gone down the rabbit hole too far with this step being included in the process, but I think the extra effort will pay off.
Lining
I grew up reading and trying to draw my own comics. The bold black lines and solid colors of the mid-’90s comic books really called to me. It’s influenced a lot of the artwork that I like now and the type of artistic touches included in my current work.
With some luck, applying solid black lines to the minis as a last step will help the Bretonnian colors pop!
Will any of this work? Stay tuned to find out!